How to Fill a Cheque Cheques remain one of the most traditional and widely used financial instruments for making payments. While digital transactions have gained popularity, cheques are still crucial for certain financial dealings, such as business transactions, rent payments, and legal obligations. Understanding how to properly fill out a cheque is essential to ensure smooth transactions and prevent errors or fraud.
This comprehensive guide will walk you through the process of filling out a cheque correctly, including tips, common mistakes to avoid, and additional details for a secure transaction.
Understanding a Cheque
A cheque is a written order directing a bank to pay a specific amount from the drawer’s account to the payee. Each cheque contains multiple sections that need to be filled accurately. Before we dive into the process, let’s break down the essential components of a cheque:
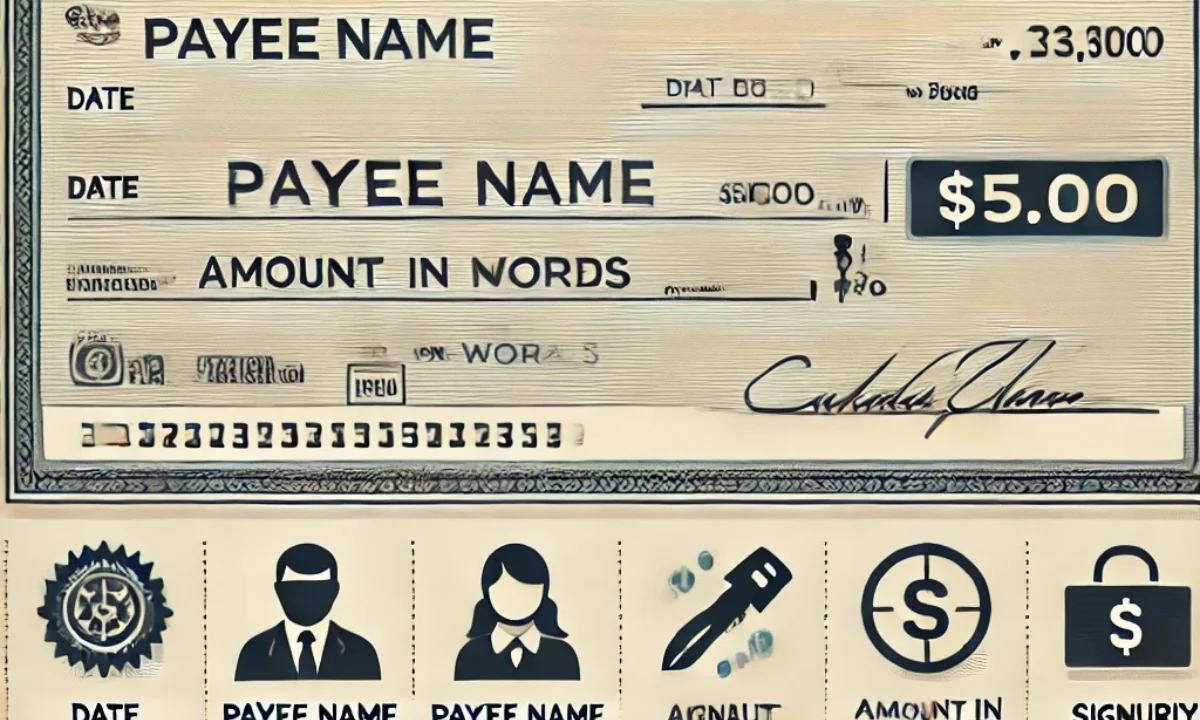
Components of a Cheque
- Date – The date when the cheque is written.
- Payee Name – The name of the person or organization receiving the payment.
- Amount in Figures – The payment amount in numeric form.
- Amount in Words – The payment amount written in words for clarity.
- Signature – The drawer’s signature, authorizing the transaction.
- Memo/Remarks (Optional) – A short note explaining the purpose of the cheque.
- MICR Code – A pre-printed Magnetic Ink Character Recognition (MICR) code used for bank processing.
- Account Number and IFSC Code – Identifies the account from which the funds will be withdrawn.
Read More – How to Check Ladli Behna Yojana Status Maharashtra
Step-by-Step Guide to Filling a Cheque
1. Write the Date
The date should be written at the top-right corner of the cheque in the format: DD/MM/YYYY. Ensure the date is current to avoid rejection.
2. Enter the Payee’s Name
On the line that begins with “Pay,” write the name of the individual or company you are paying. Ensure correct spelling to prevent issues during bank processing.
Example:
- Pay: John Doe
- Pay: XYZ Enterprises
Tips:
- If writing a self-cheque (for cash withdrawal), write “SELF.”
- Avoid leaving blank spaces before or after the name to prevent tampering.
3. Write the Amount in Numbers
In the box beside the payee’s name, enter the payment amount in numeric form. Align the first digit to the left side of the box to prevent alterations.
Example:
- ₹10,000.00
- ₹5,750.50
Tips:
- Use two decimal places for clarity.
- Avoid overwriting or using corrections.
4. Write the Amount in Words
Below the payee’s name, write the amount in words. This serves as an additional security measure to prevent alterations.
Example:
- Ten thousand rupees only.
- Five thousand seven hundred fifty rupees and fifty paise only.
Tips:
- End with “only” to prevent fraudulent modifications.
- Ensure the words and numbers match exactly.
5. Sign the Cheque
Sign the cheque at the bottom right-hand corner using the signature registered with your bank.
Tips:
- Do not sign a blank cheque to prevent fraud.
- Use the same signature as per bank records to avoid rejection.
6. Fill the Memo/Remarks Section (Optional)
In the bottom-left section of the cheque, you may write a note indicating the purpose of the payment.
Example:
- Rent for March 2025.
- Invoice #12345 Payment.
Common Mistakes to Avoid
- Post-dated or Pre-dated Cheques – Ensure the date is correct to prevent delays or rejection.
- Mismatched Amounts – The amount in words and numbers should match exactly.
- Overwriting and Corrections – Avoid overwriting or using correction fluid.
- Unsigned Cheques – A missing signature renders the cheque invalid.
- Leaving Blank Spaces – Prevent fraud by filling in all fields completely.
Types of Cheques
Understanding different types of cheques can help in making the right choice for transactions:
- Bearer Cheque – Payable to anyone presenting the cheque.
- Order Cheque – Payable only to the person named on the cheque.
- Crossed Cheque – Can only be deposited into a bank account, not cashed.
- Post-Dated Cheque – Dated for a future date.
- Self-Cheque – Used by the drawer to withdraw cash from their own account.
- Cancelled Cheque – Marked with “Cancelled” and used for verification purposes.
Security Tips for Using Cheques
- Use a consistent signature to prevent verification issues.
- Keep your cheque book secure to prevent unauthorized use.
- Do not sign blank cheques to avoid fraud.
- Ensure proper disposal of old cheques by shredding them.
- Verify cheque details before handing it over.
What to Do if a Cheque is Lost or Stolen
If you lose a cheque, immediately:
- Contact your bank to stop payment on the lost cheque.
- Report to authorities if fraudulent activity is suspected.
- Issue a replacement cheque if necessary.
Conclusion
Filling a cheque correctly is crucial for ensuring secure and hassle-free transactions. By following the proper steps, avoiding common mistakes, and implementing security measures, you can effectively use cheques for payments and financial dealings. Whether for business or personal use, understanding how to fill out a cheque properly will save you time and prevent potential financial issues.
2 thoughts on “How to Fill a Cheque: A Step-by-Step Guide”